Howto: headless Raspberry Pi Image
So you want to set up a new Raspberry Pi but there is no monitor and keyboard around or you just can’t be bothered getting them?
No problem! This is how to get your Raspi up and running without them…
Prepare the SD Card
First we have to write the Raspberry Pi OS Image to a SD card. I used the Raspberry Pi Imager that is available from the Raspbbery Pi homepage.
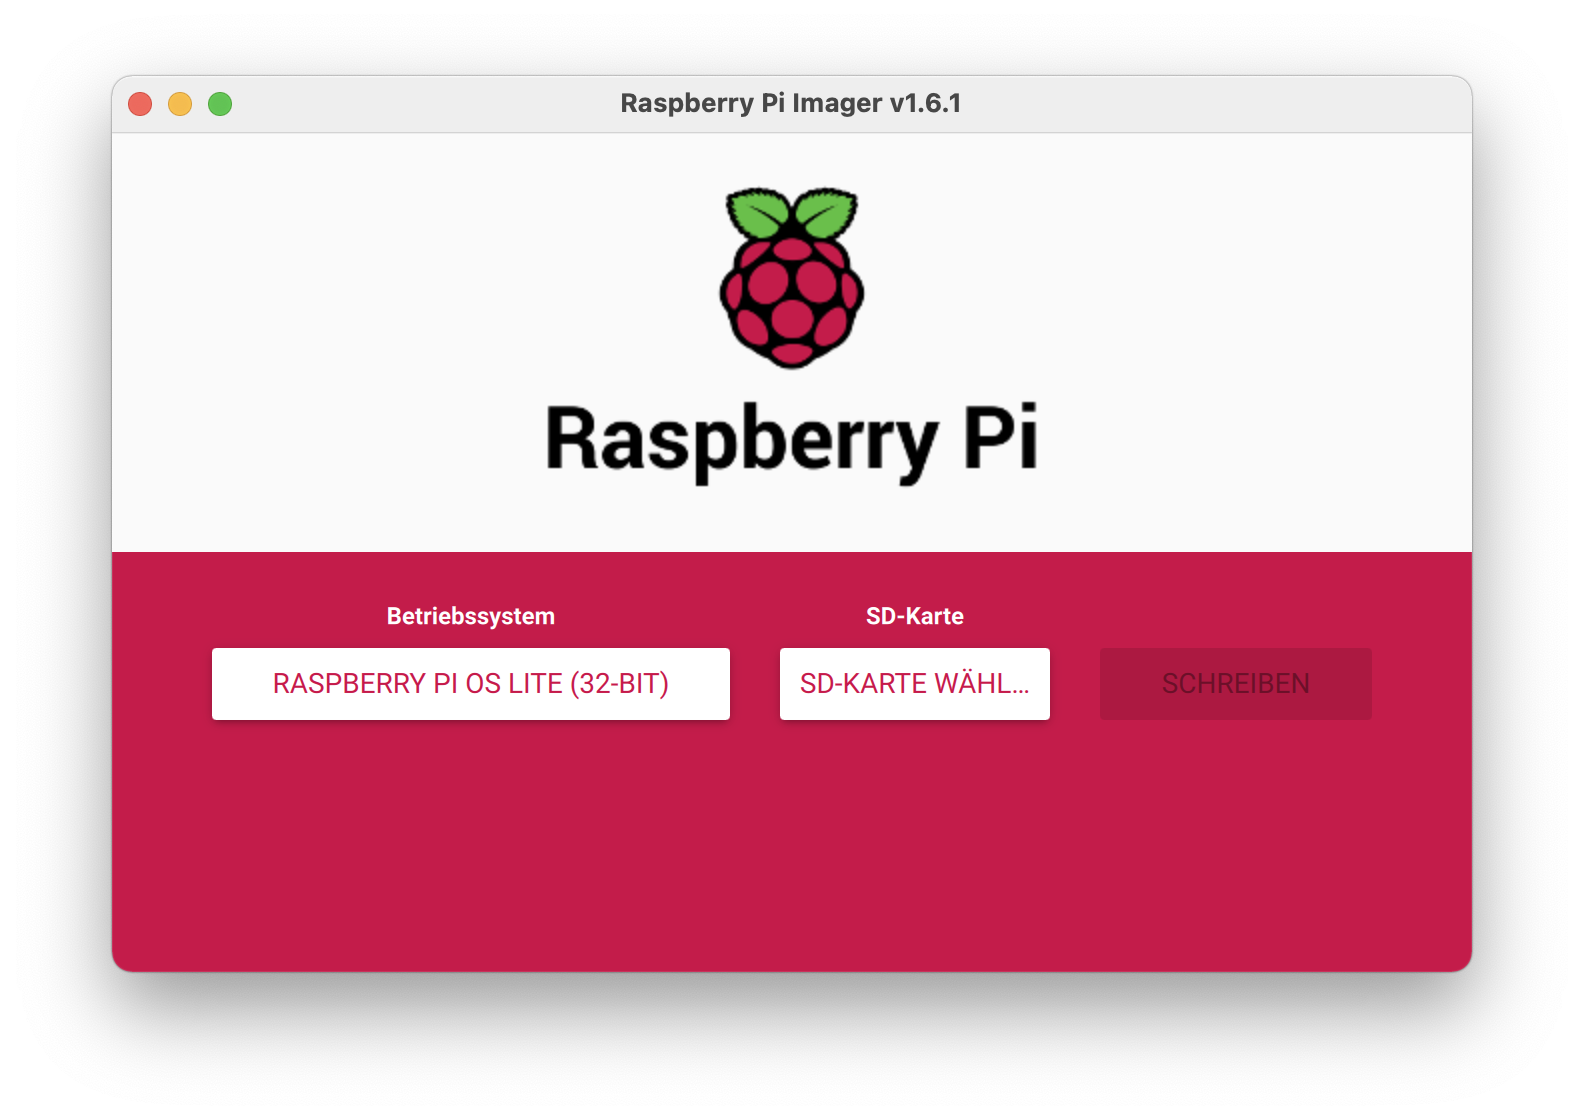
Just select the image you want to use and the target SD card, hit write and hit ok in the following popups. For this howto I use the Raspberry Pi OS Lite Image.
Mount the SD Card to a Linux
Now we have a working Raspi Image, but you won’t be able to connect via SSH as it is deactivated by default. Also, there is no Wifi conection yet.
We will now alter the SD card to make both things available at first boot.
Therefore, we mount the SD card in a Linux environment. If you don’t have a machine running a native Linux, you can just use a virtual machine running Linux and connect the SD card reader to it.
The device name for your SD card may vary. If in doubt, check the output of dmesg or perform a lsblk on the device that you think is the SD card.
lsblk /dev/sdb |
To perform the following steps in the right context we now have to chroot into the Raspberry Pi OS. As the Raspberry Pi OS runs on ARM and we are most likely running a x86 based Linux right now, we use the qemu emulation to simulate an ARM environment.
apt install qemu-user-static |
Set Hostname and Time
Now that we are in our Raspberry Pi OS environment, we first change the hostname to whatever the name of the Raspberry shall be.
echo tngpi > /etc/hostname |
Also, the date and time are most likely off on first boot. So we enable the timesync daemon which will correct that shortly after the first boot. You can also adjust the timezone setting to reflect your current location.
systemctl enable systemd-timesyncd |
Activate SSH
Now we enable the SSH daemon. It will start on first boot so that we then can connect via LAN. Note that the ssh host keys will be created automatially on first boot. They are then unique to the instance of Raspberry Pi OS on the SD card.
systemctl enable ssh |
While we are at it, let’s make the login a bit easier. We put our SSH public key into the pi home folder so that the SSH daemon can pick it up and allow a public key login for the user pi.
cd /home/pi |
You can now access the Raspbery Pi using ssh tngpi by putting the following snippet into your ssh config.
1 | Host tngpi |
Here I assume that you use a Fritz!Box or some other router that will resolve the hostname for you. If you don’t have that, you later have to find out the IP address of the Raspberry and put that into the ssh config file above instead of the DNS name tngpi.fritz.box.
(Optional) Activate Wifi
In case you only have Wifi available, you have to enable it before running the Raspberry the first time. Change your wpa_supplicant.conf as shown below. You have to adjust the country code in line 3 to the country you are using the Raspberry in. Also, keep the double quotes around SSID and Password.
1 | ctrl_interface=DIR=/var/run/wpa_supplicant GROUP=netdev |
Then enable the wpa_supplicant daemon.
systemctl enable wpa_supplicant |
Finally, we have to work around a Raspberry Pi OS Bug that disables the Wifi initially. Add the following snippet to your /etc/rc.local before the exit statement.
1 | rfkill unblock wifi |
Run your Raspi
Now your image is prepared to enable you headless access. Exit from the chroot environment and unmount the SD card.
exit |
Now you can put the SD card into your Raspberry and start it up. It should be available on your network via SSH.