Large Language Models (LLMs) like GPT-4 are trained on vast datasets that include man pages, readmes, forum questions and discussions, source code and other sources of command line tool documentation. Given a set of requirements one can query a LLM to predict a command line that will perform the required task.
please-cli is a wrapper around GPT-4 that can help you translate your requirements into a shell command. Let’s start with an example:
benjamin@asterix:~# please convert a.jpeg to avif and upscale it to 200%
💡 Command:
  convert a.jpeg -resize 200% a.avif

❗ What should I do? [use arrow keys or initials to navigate]
> [I] Invoke   [C] Copy to clipboard   [Q] Ask a question   [A] Abort
Well, looks promising and the code actually works. please-cli also gives you some handy shortcuts to immediately invoke or copy the code. You can also inquire directly about the command. In the following sections we will look at some other examples and wether we can find limitations of the script generation.
For weeks now I had a sync exception from my DAVx app, indicating a problem when syncing my CalDAV calendar from SOGo. As Thunderbird was not affected I managed to ignore the problem for quite some time. But then I noticed that some newer appointments are not synced anymore. So I had to investigate.
DAVx allows you to export debug information, where the error is shown as:
SYNCHRONIZATION INFO
Account: Account {name=benjamin@example.com, type=bitfire.at.davdroid}
Authority: com.android.calendar

EXCEPTION
at.bitfire.dav4jvm.exception.DavException: Received multi-get response without calendar data
	at at.bitfire.davdroid.syncadapter.CalendarSyncManager$downloadRemote$1$1$onResponse$1.invoke(CalendarSyncManager.kt:9)
	at at.bitfire.davdroid.syncadapter.CalendarSyncManager$downloadRemote$1$1$onResponse$1.invoke(CalendarSyncManager.kt:1)
	at at.bitfire.davdroid.syncadapter.SyncManager.responseExceptionContext(SyncManager.kt:13)
	at at.bitfire.davdroid.syncadapter.CalendarSyncManager$downloadRemote$1$1.onResponse(CalendarSyncManager.kt:18)
	at at.bitfire.dav4jvm.Response$Companion.parse(Response.kt:308)
  ...
A few lines later the log file specifies the remote source as:
I tried to delete the calendar from my device and set it up again, but to no avail. After a bit of digging I got the impression that something was wrong with the calendar entry. Unfortunately the log file doesn’t say anything about the calendar entry other than the link. So I can’t look at the entry in Thunderbird or the SOGo web interface. But I am running my own SOGO instance so I am able to check the SOGo database entry.
SOGo organizes data in a series of tables named sogo${username}${hash}. The c_name of every table corresponds with the event name from the URL. So we can look for the event and it’s content in the tables:
MariaDB [sogo]>select c_content from sogobenjamin0010de46299 where c_name like'%2930%'; +-----------+ | c_content | +-----------+ || +-----------+ 1rowinset (0.005 sec)
Apparently the event just has an empty c_content field which is what threw off DAVx. As I don’t know anything else about the event and there is nothing to restore, I just deleted the entry from the table:
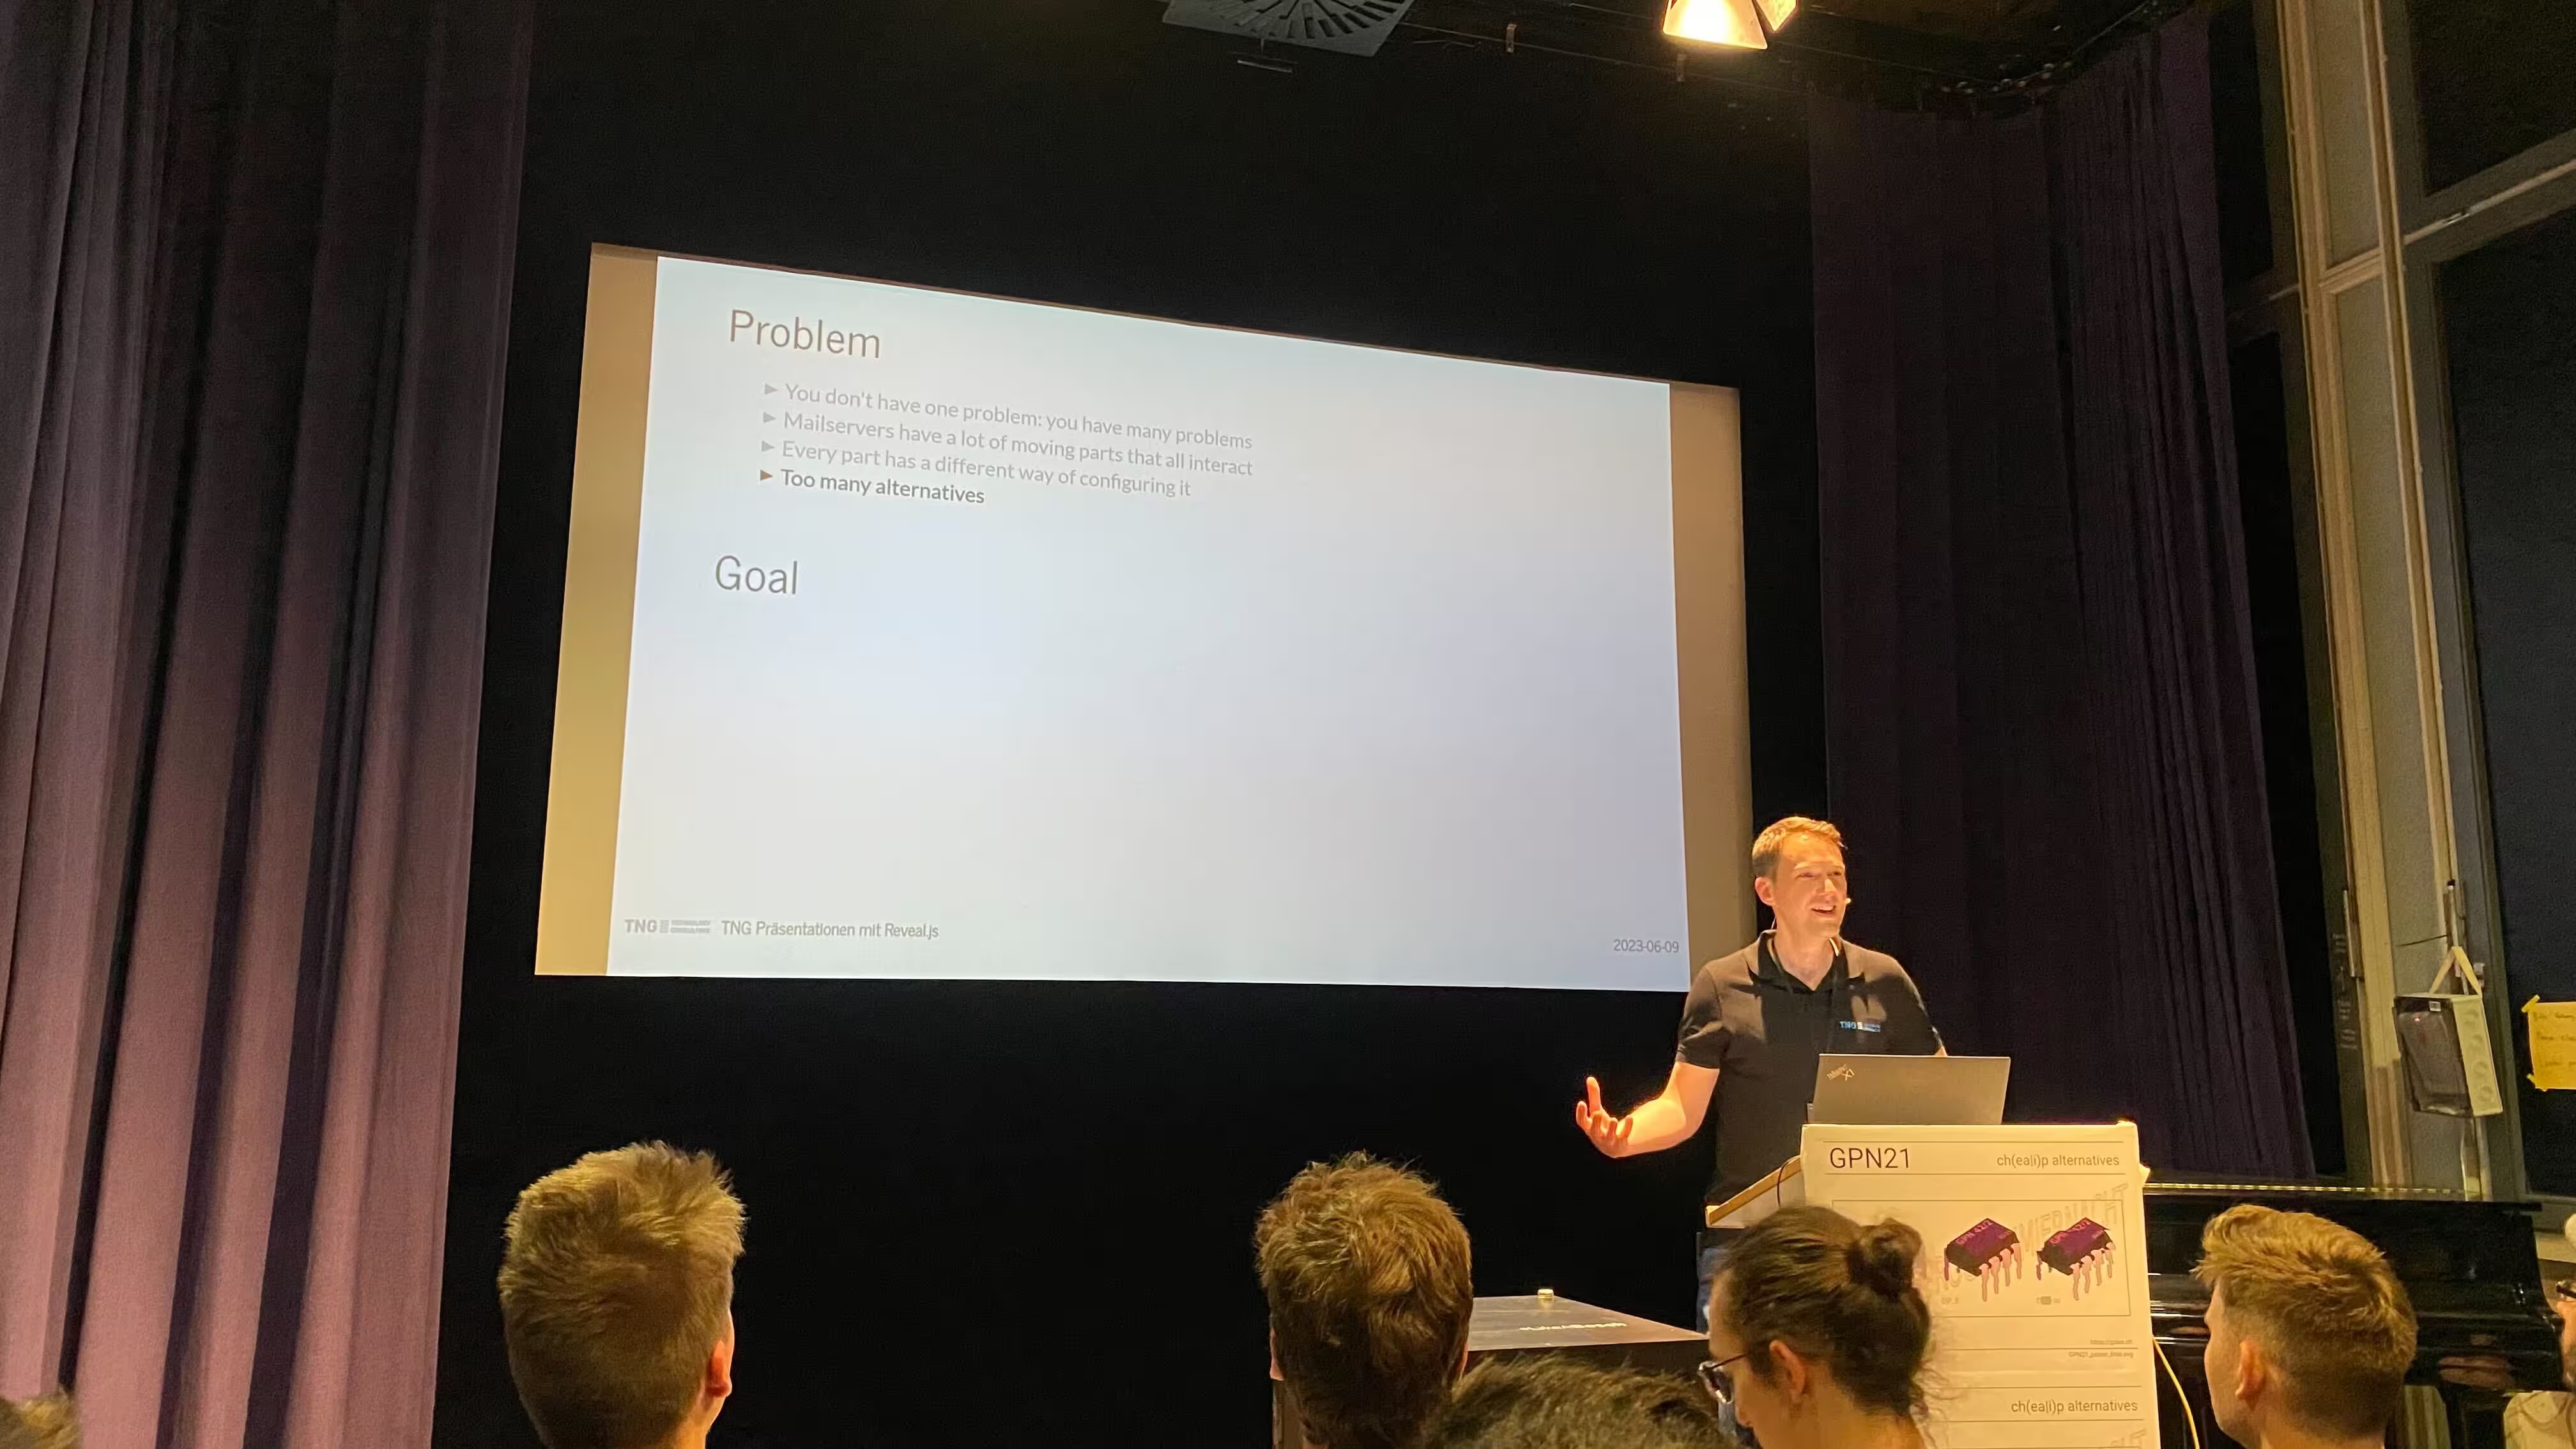
Thanks to everyone who attended my talk on how to set up a dockerized mailserver at GPN21. I enjoyed your input and hope you were able to get something out of the talk.
We already know how to stream from you Raspberry Pi. But where should we stream to? If you want to distribute the stream or make it available on the internet, serving it from a server is an option that also gives you a lot of flexibility when it comes to post processing. The Raspberry Pi doesn’t have much processing power and if you want to do something fancy, chances are it won’t work on a Pi.
In this article we set up a Raspberry Pi to stream to a server somewhere on the internet which then sharpens the stream, adds a logo on top and makes it available on a minimal webpage.
After setting up a Postfix and Dovecot Server and securing it with Rspamd and ClamAV we are still lacking a nice web interface to send and receive mail with. This is where SOGo comes in. SOGo is a fully fledged groupware server providing a mail client, calendar, address book, CalDAV, CardDAV, Microsoft ActiveSync and more. There are freely available nightly builds of SOGo which we will use with our SOGo Docker Image to create a groupware server on mydomain.com.
In this article we discuss the necessary configuration to set up SOGo and provide Ansible roles for SOGo and some other services not yet covered in other articles.
Prerequisites
We assume that you have a host that is accessible via Ansible and that you are running Traefik as well as the internal Docker network described in the Traefik article. We will outsource our user database to an Apache LDAP Server. You can of course use another LDAP server. Make sure to adapt the SOGo LDAP configuration. You also need a SMTP and IMAP server like the Postfix and Dovecot Server from a previous article. Spam and virus filtering is not required for this article, but highly recommended. We will not target full Unicode compliance with our setup to keep it simple. There is a guide in the SOGo docs on how to make SOGo Unicode compliant. We will mention it a few times where applicable.
SOGo is a fully fledged groupware server providing a mail client, calendar, address book, CalDAV, CardDAV, Microsoft ActiveSync and more. Despite its feature set there is no official Docker image yet. So let’s create one for ourselves.
SOGo uses Apache to serve the web frontend. We run SOGo and Apache toghther in one Docker container so Apache can easily use the SOGO static files. To start both processes in one Docker container we use supervisord as suggested in the Docker wiki. Both processes run on their own user.
We use the SOGo nightly builds as one needs a paid support contract to get access to the stable releases.
# Update all packages and install the apt tools to install the rest RUN apt update && \ apt upgrade -y && \ apt install -y gnupg2 apt-utils ca-certificates apt-transport-https
# Add the PGP Key of SOGo RUN wget -O- "https://keys.openpgp.org/vks/v1/by-fingerprint/74FFC6D72B925A34B5D356BDF8A27B36A6E2EAE9" | gpg --dearmor | apt-key add -
# Download SOGO from this repo: COPY SOGo.list /etc/apt/sources.list.d/SOGo.list
# Update apt cache and install SOGo RUN apt update && \ # Switch to non-interactive install export DEBIAN_FRONTEND=noninteractive && \ # Do the time zone settings beforehand so we don't get promted for it during install (pick your timezone) echo "tzdata tzdata/Areas select Europe" | debconf-set-selections && \ echo "tzdata tzdata/Zones/Europe select Berlin" | debconf-set-selections && \ echo "tzdata tzdata/Zones/Etc select UTC" | debconf-set-selections && \ # For some reason SOGo wants this file to be present mkdir -p /usr/share/doc/sogo/ && touch /usr/share/doc/sogo/foo.sh && \ # Install the actual services needed apt install -y --no-install-recommends apache2 sogo supervisor gosu && \ # Prepare non-privileged file permissions for SOGo chown sogo /etc/sogo/sogo.conf && \ mkdir -p /var/run/sogo && chown sogo /var/run/sogo && \ # Apache also runs on a non-privileged user mkdir -p /var/run/apache2 && chown www-data /var/run/apache2 && \ # Activate the necessary Apache mods and disable the default site a2enmod proxy headers proxy_http rewrite && \ a2dissite 000-default && \ # Verify that gosu works gosu nobody true # This file is explained below COPY supervisord/supervisord.conf /etc/supervisord/supervisord.conf
# Supervisord will start Apache and SOGo CMDexec /usr/bin/supervisord -c /etc/supervisord/supervisord.conf
After the positive initial impressions on the Raspi Camera Module 3 the question now is how it stacks up against alternative camera modules. Obviously it will be better than the old camera modules 1 and 2 but what about the HQ Camera module that also got a slight feature bump at the same time as the camera module 3 was released?
Camera Module and Lens Specifications
The Camera Module 3 has a fixed autofocus lens. The HQ Camera Module comes with a C/CS lens mount but no lens. For this comparison we have the 6mm CCTV lens and the Pentax Cosmicar 8.5mm CCTV lens. The MSRP of the Camera Module 3 is $25 and for the HQ Camera Module it’s $50. Prices on the HQ Camera Lenses will vary and we have two cheaper variants for this test. Unfortunately there are no equal focal lengths for the two sensors. The 28mm equivalent of the Camera Module 3 is common on smartphones while the 33mm equivalent of the 6mm lens the HQ Camera Module is a moderate wide angle and the 47mm equivalent of the Pentax 8.5mm a standard lens.
Camera Module 3
HQ Cam & CCTV
HQ Cam & Pentax
Resolution
11.9 MPix
12.3 MPix
12.3 MPix
Pixel Size
1.4 µm x 1.4 µm
1.55 µm x 1.55 µm
1.55 µm x 1.55 µm
Sensor
Sony IMX708
Sony IMX477
Sony IMX477
Stills Resolution
4608 x 2592 pixels
4056x3040 pixels
4056x3040 pixels
Video Modes
2304×1296p56, 2304×1296p30 HDR, 1536×864p120
2028×1080p50, 2028×1520p40 and 1332×990p120
2028×1080p50, 2028×1520p40 and 1332×990p120
Sensor Size
1/2.43”
1/2.3”
1/2.3”
Focus
Auto
Manual
Manual
Focal Length
2.75mm
6mm
8.5mm
Focal Length (35mm equiv.)
28mm
33mm
47mm
Max. Apterture
f/1.8
f/1.2
f/1.5
Camera Modules and Lenses Used
For the test setup we use libcamera-still with everything on auto for still images and libcamera-vid for videos, also everything on auto except the time to record, which is 10 sec.
Camera Module 3 vs HQ Camera Module
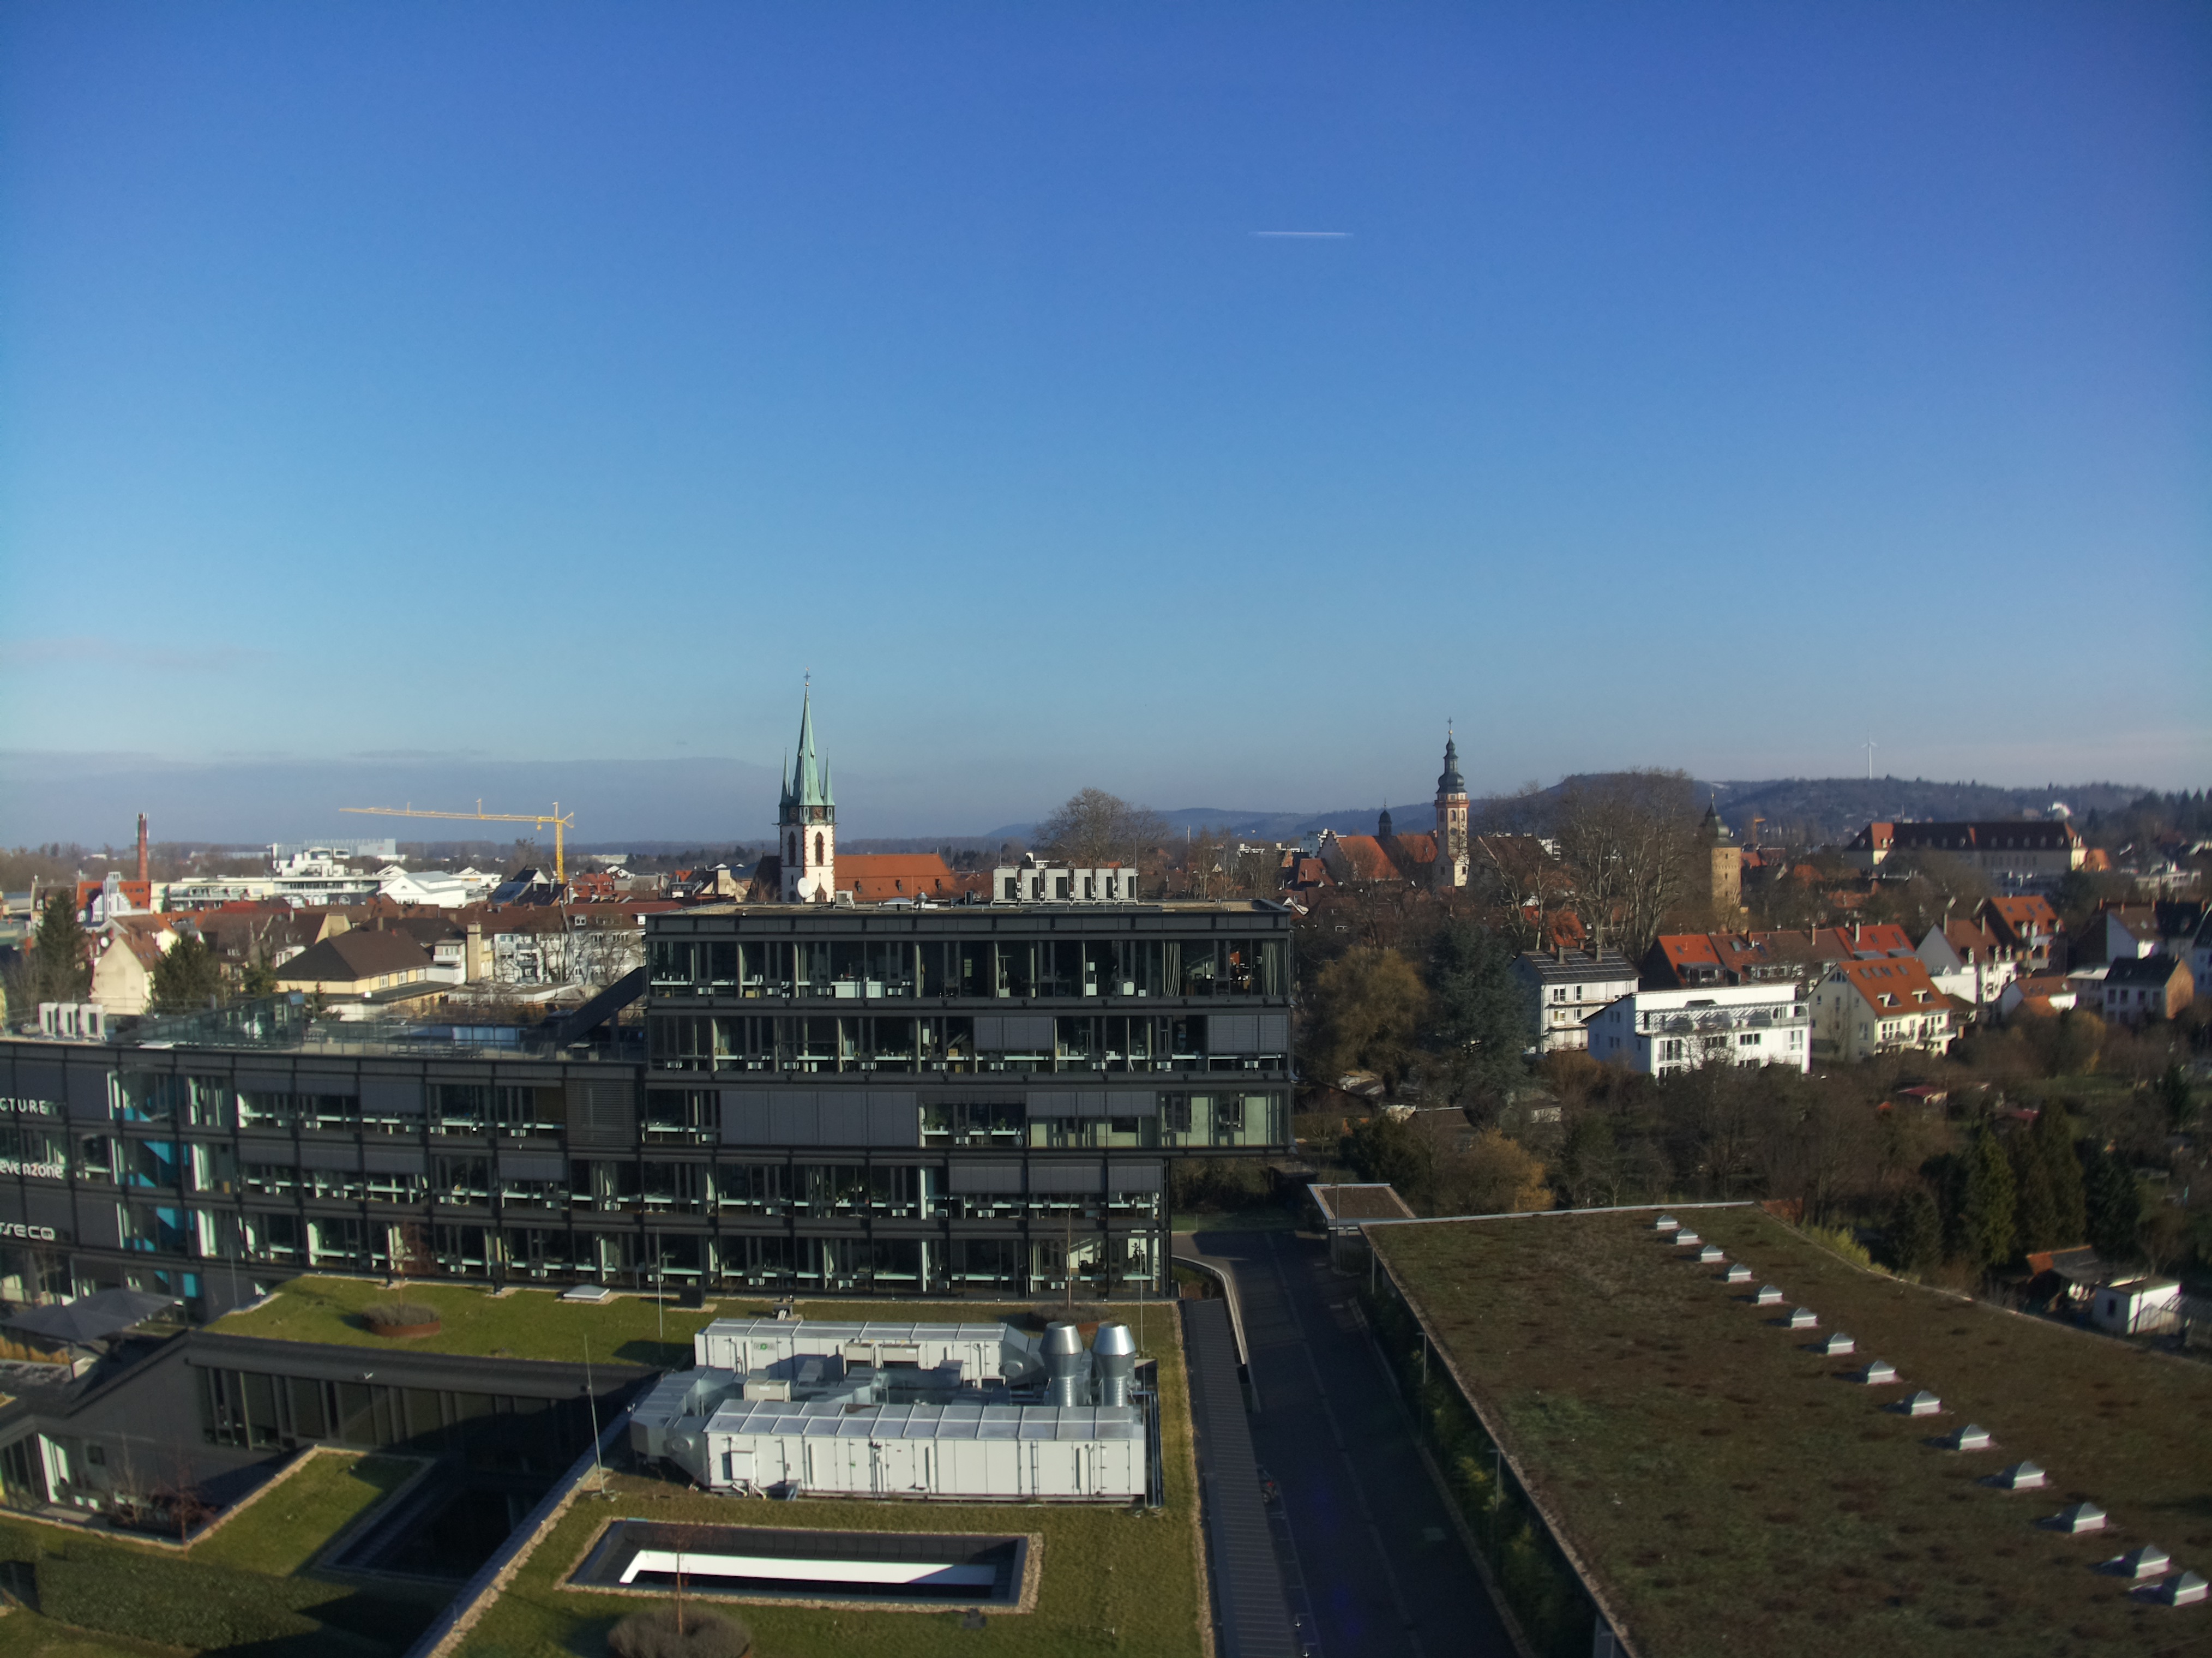
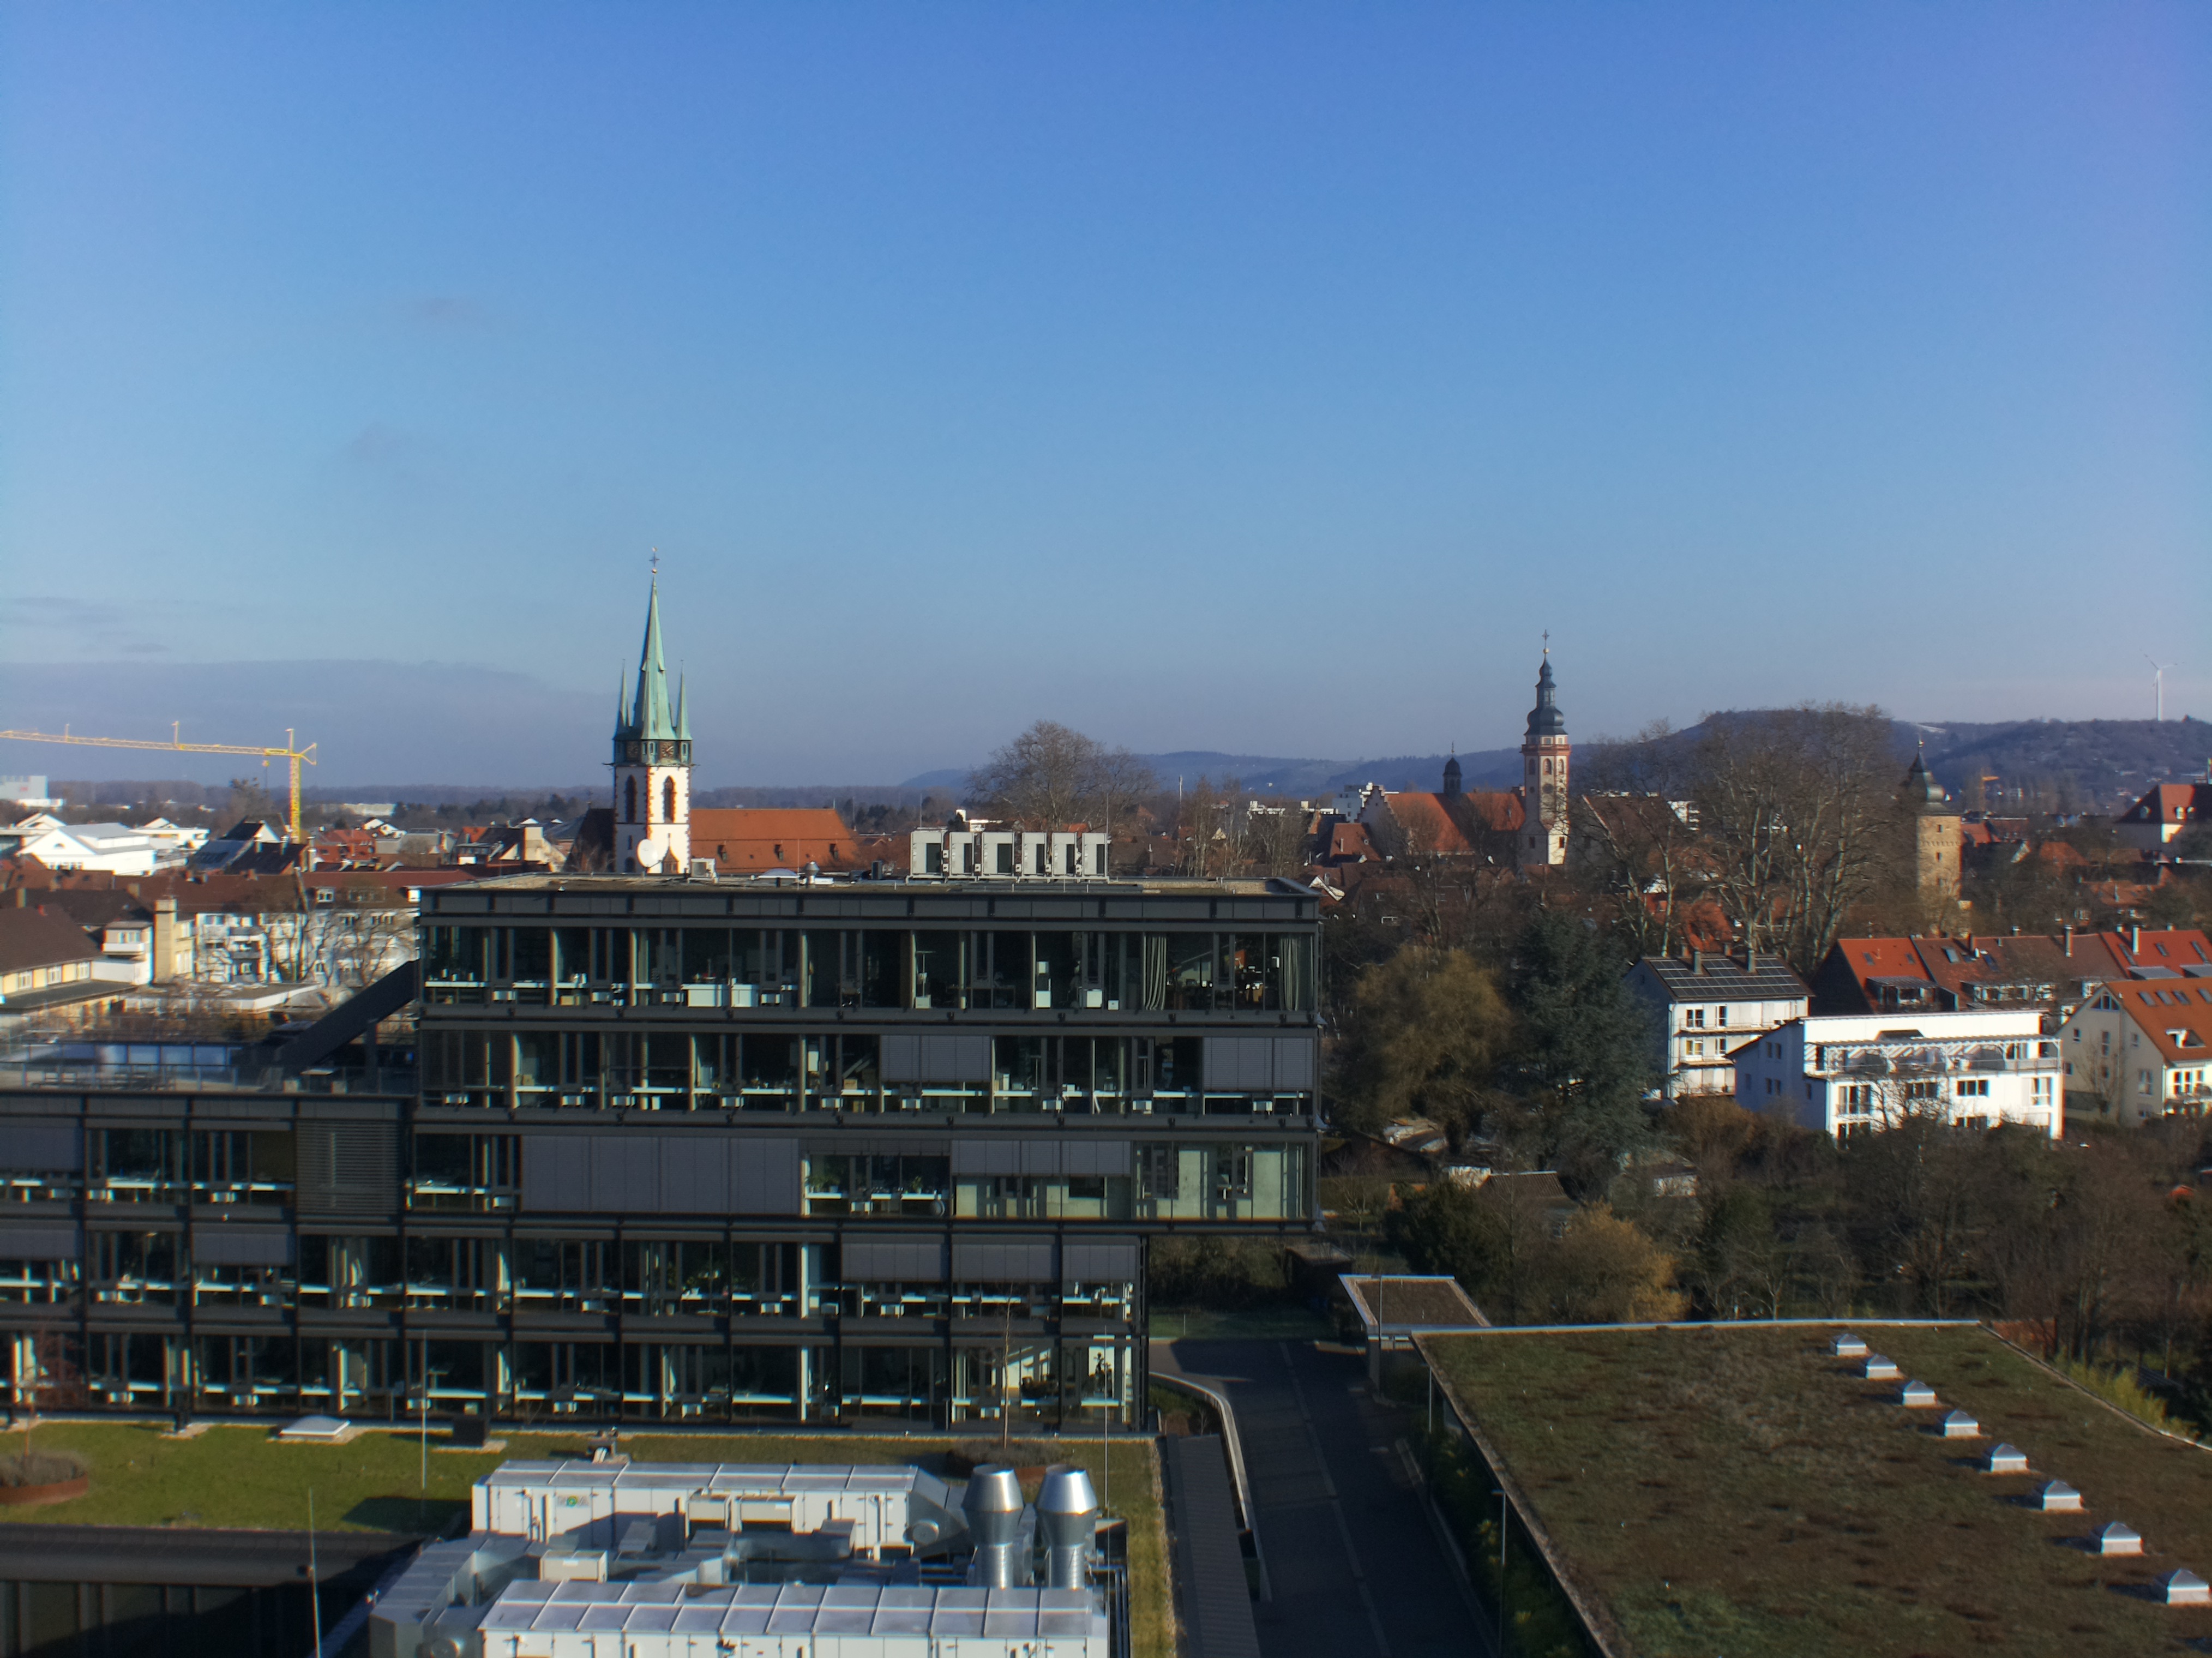
Looking at the Camera Module 3 and HQ Camera Module images sidy by side the first thing we notice is the different aspect ratio between the sensors. The Camera Module 3 has a 16:9 aspect ratio, while the HQ Camera Modules 4:3 aspect ratio is more commonly found in stills photography. Also, the focal lengths are quite different making us “zoom in” on the test frame while going through the pictures.
When it comes to image quality the Camera Module 3 not only seems to have the sharpest but also the most consistent lens in the field. The image is still sharp on the edges of the frame and there is no noticeable barrel distortion. Quite in contrast the 6mm lens. Despite beeing stopped down, the image is only sharp in the very center. Also a pronounced barrel distortion is noticeable. The Pentax 8.5mm is a little better in that regard but is also only really sharp in the center despite beeing stopped down to f/5.6. The Camera Module 3 on auto takes a warmer approach to the overall colour of the image while the images from the HQ Camera Module have a cooler, bluer tone.
If you are running a basic mailserver either from my guide on running a dockerized mailserver or some setup of your own you will soon be bombarded with spam messages.
In this post we explore a solution based on a dockerized instance of the mail filter system Rspamd. Our Postfix (or your MTA of choice) will use a milter, a mail filter, to send all incoming mail to Rspamd. Rspamd then scans the mail for spam and viruses. When Rspamd is confident enough that the mail in question is spam or contains a virus it will signal Postfix to reject the mail before passing it on. If Rspamd is not sure that the mail should be rejected but suspects the mail is spam it will attach a header to the mail indicating that the mail is spam. When the mail storage like the IMAP server Dovecot later receives the mail it can decide based on the spam header to move the mail into the spam folder so it won’t be lost immediately. Actual mail from other persons (ham) is not modified.
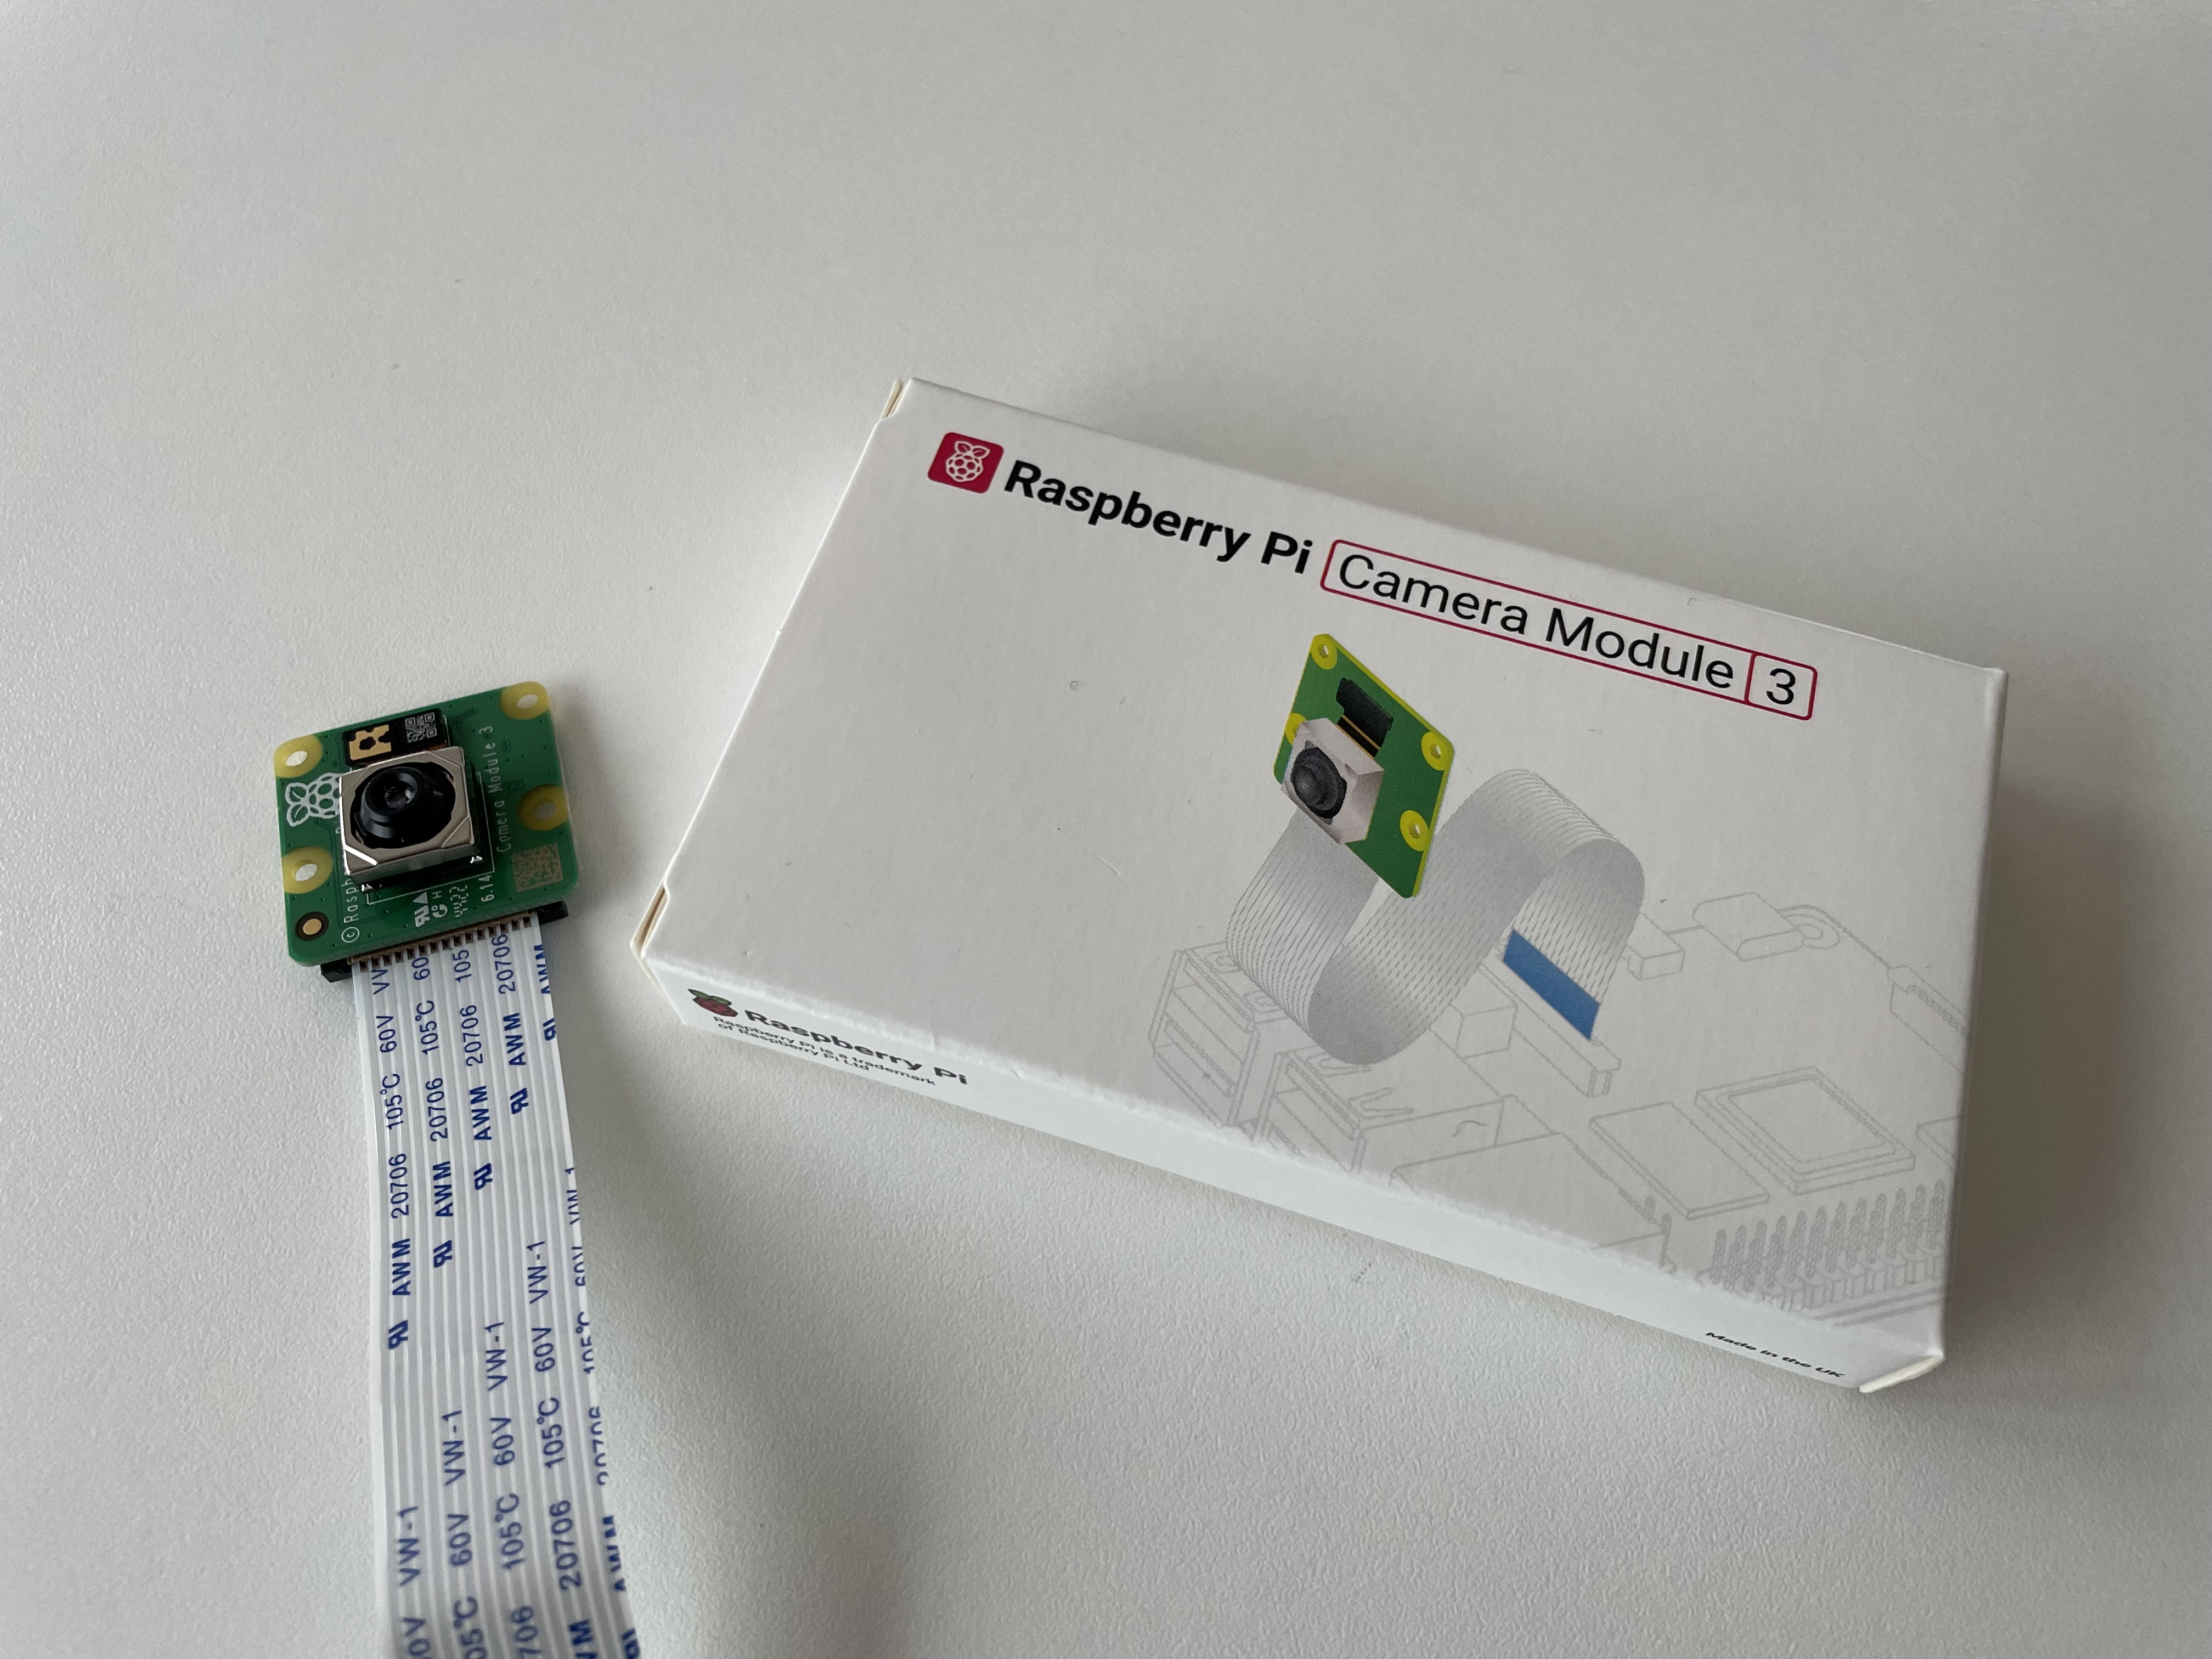
A few days ago on Jan 9, 2023 the Raspberry Pi Ltd. announced the Raspberry Pi Camera Module 3 and I was fortunate enough to get one of the last available in german online stores. So this is my first impressions review with some images that I captured. I got the standard Camera Module 3 with 66 deg angle of view and IR filter.
Rspamd is a powerful and free spam filtering system. Unfortunately, there is no official Docker image available so let’s build one for ourselves.
If you only want rspamd to run in a container the Dockerfile is very simple: Just install the rspamd packages and set the command to /usr/sbin/rspamd -f. But rspamd can also expose a minimal web interface with statistics, logs and the ability to manually submit ham and spam. Of course we want that, too. We use nginx to serve the necessary style sheets and icons for the rspamd web interface. These are included in the rspamd package. To make things easier we run both rspamd and nginx in the same docker container. We start them both at the same time using supervisord, one of the methods recommended by the Docker docs.
So this is our Dockerfile: it installs the necessary packages, copies the supervisord config and nginx config and starts supervisord.
We let nginx pick the static files from the rspamd package location and proxy the http requests to rspamd itself. Output goes to /dev/stdout to populate the Docker logs.
nginx/nginx.conf
worker_processes2; user nginx nginx;
pid /var/run/nginx.pid;
error_log /dev/stdout info;
events { worker_connections8192; useepoll; }
http { include mime.types; default_type text/plain;
Supervisord has the ability to start multiple processes but stay in foreground itself which is very convenient in docker containers as the main command stays alive. We use it to start rspamd and nginx, again, in foreground. Rspamd has a switch for that, nginx needs an additional option string.